
Introduction:
Creating your first webpage is an exciting step into the world of web development. Whether you’re curious about how websites work or dreaming of building your own, this guide is here to help you get started. In this tutorial, you’ll learn how to create a simple webpage using HTML, style it with CSS, and view it in your browser. By the end, you’ll have your very own webpage up and running!
Imagine being able to create something from scratch that you can share with the world. Let’s dive into making your first webpage!
1. What You’ll Need
Before we start, let’s make sure you have everything you need to create your first webpage.
Materials:
- A Computer: Any modern computer will work.
- Internet Access: To download the necessary tools.
- Text Editor: We’ll be using Visual Studio Code (VS Code).
- Web Browser: To view your finished webpage (e.g., Google Chrome, Firefox).

2. Setting Up Your Development Environment
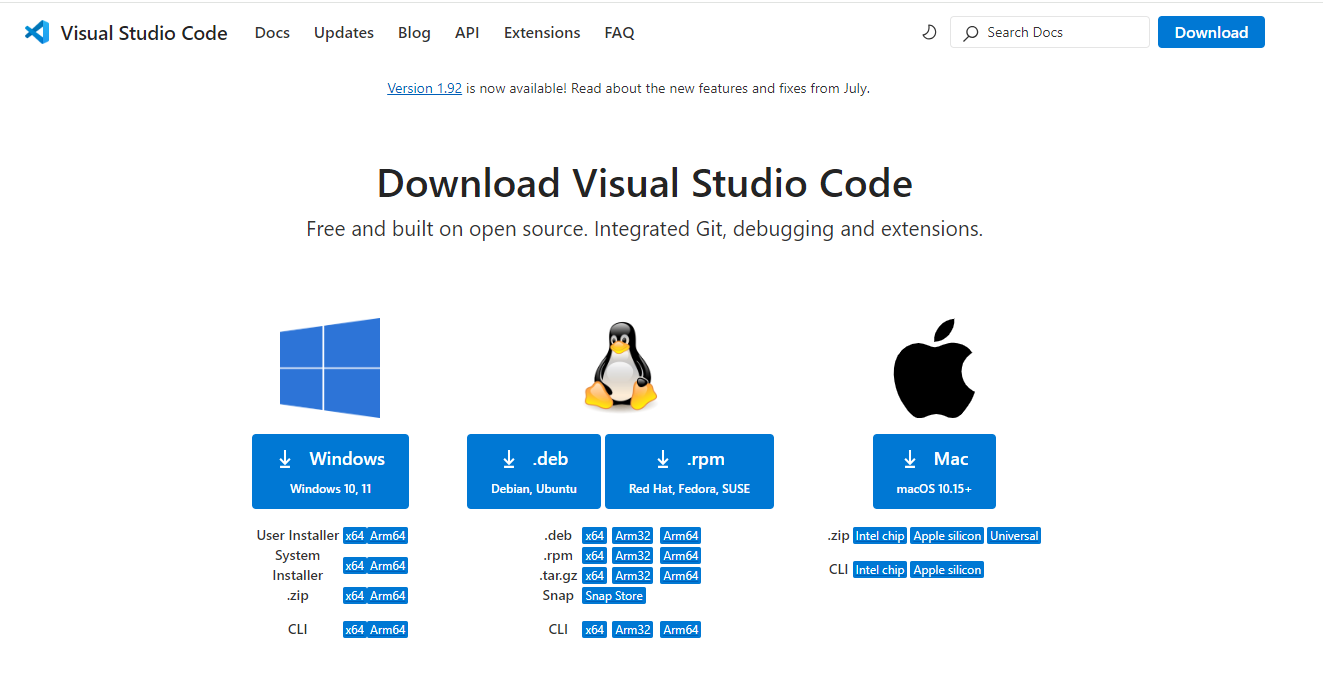
Your development environment is where you’ll write and test your code. We’ll start by installing Visual Studio Code, a popular text editor for web development.
Installing Visual Studio Code
- Download VS Code: Visit the official VS Code website and download the version for your operating system.
- Install the Software: Follow the installation instructions for your OS (Windows, macOS, or Linux).
- Open VS Code: Once installed, open VS Code. You’ll see a clean, organized workspace where you can start coding.
Creating Your First Project Folder
Your project folder is where you’ll save all the files related to your webpage.
- Create a Folder: On your desktop or in your documents, create a new folder and name it something like “MyFirstWebPage”.
- Open the Folder in VS Code: In VS Code, go to
File > Open Folder, and select the folder you just created.

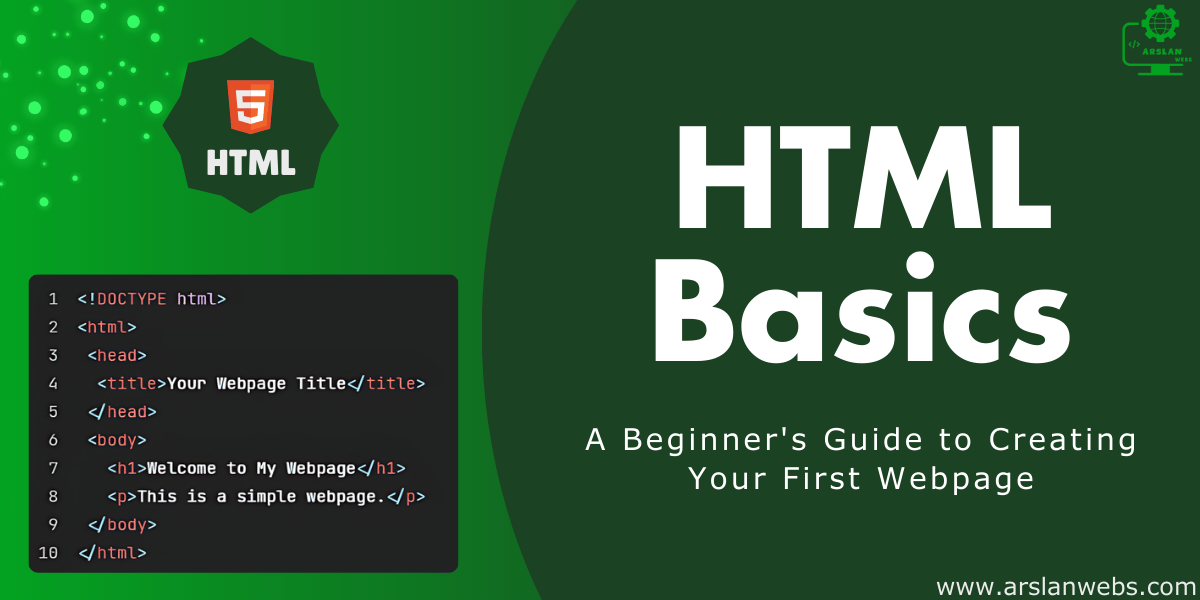
3. Writing Your First HTML
HTML (HyperText Markup Language) is the foundation of your webpage. It structures your content, such as text, images, and links.
Understanding HTML Structure
Every HTML document starts with a basic structure:
<!DOCTYPE html>
<html>
<head>
    <title>My First Webpage</title>
</head>
<body>
    <!-- Your content goes here -->
</body>
</html>- Explanation:
<!DOCTYPE html>: Tells the browser that this is an HTML5 document.<html>: The root element that contains all your HTML code.<head>: Contains meta-information about your page (e.g., title).<body>: Contains the content that will be displayed on the webpage.
Image Placeholder: Diagram labeling the parts of an HTML structure.
Adding Text and Headings
Now, let’s add some text and headings to your webpage:
<h1>Welcome to My First Webpage</h1>
<p>This is my first time creating a webpage. I'm excited to learn more about web development! by Arslan Webs</p>- Explanation:
<h1>: This is a heading element, used for titles.<p>: This is a paragraph element, used for blocks of text.
Image Placeholder: Screenshot of the HTML code and its output in a browser.
4. Styling with CSS
CSS (Cascading Style Sheets) is used to style your webpage, making it look more appealing.
Linking a CSS File
First, we need to link a CSS file to our HTML document:
- Create a CSS File: In your project folder, create a new file named
style.css. - Link the CSS File in HTML:
<head>
    <link rel="stylesheet" href="style.css">
</head>- Explanation: The
<link>tag connects your CSS file to your HTML file.
Image Placeholder: Diagram showing the relationship between HTML and CSS files.
Adding Basic Styles
Let’s add some styles to make your webpage more attractive:
body {
    background-color: #f0f0f0;
    font-family: Arial, sans-serif;
}

h1 {
    color: #333;
    text-align: center;
}

p {
    color: #666;
    font-size: 16px;
    line-height: 1.5;
}- Explanation:
body: Applies a background color and font to the entire page.h1: Styles the heading with color and alignment.p: Styles the paragraph text with color, size, and spacing.
Image Placeholder: Screenshot of the styled webpage.
5. Viewing Your Webpage in a Browser
Now that you’ve written your HTML and CSS, it’s time to see your webpage in action!
Opening Your Webpage
- Save Your Files: Make sure to save both your
index.htmlandstyle.cssfiles. - Open the HTML File in Your Browser: Locate your
index.htmlfile in your project folder, right-click on it, and select “Open with” followed by your preferred browser (e.g., Chrome, Firefox).
Image Placeholder: Screenshot of the “Open with” option on a file.
Troubleshooting Common Issues
If your webpage doesn’t look right, check the following:
- Is Your CSS Linked Properly? Ensure the path to your CSS file is correct.
- Are There Any Typos? Double-check your code for any spelling mistakes.
Image Placeholder: Diagram of common errors in HTML/CSS and how to fix them.
6. Complete Code of First Webpage
<!DOCTYPE html>
<html>
  <head>
    <link rel="stylesheet" href="style.css" />
    <title>My First Webpage</title>
  </head>
  <body>
    <!-- Your content goes here -->
    <h1>Welcome to My First Webpage</h1>
    <p>
      This is my first time creating a webpage. I'm excited to learn more about web development! by Arslan Webs
    </p>
  </body>
</html>
body {
  background-color: #f0f0f0;
  font-family: Arial, sans-serif;
}

h1 {
  color: #333;
  text-align: center;
}

p {
  color: #666;
  font-size: 16px;
  line-height: 1.5;
  text-align: center;
}


Conclusion
Congratulations! You’ve just created your first webpage from scratch. You’ve learned how to set up a development environment, write basic HTML, style your page with CSS, and view your webpage in a browser. This is just the beginning of your web development journey. Keep experimenting and building to improve your skills!